FLIPBOOK

Flipbook

Do you also love to draw in the corners of a book to create an image that animates as you "flip" through the pages? Let us introduce you to the wonderful world of Wendy and Marc, creators of the magic
DIY MECHANICAL FLIPBOOK

Story


We met Wendy and Marc in their small beach house in LA this summer and they heavily seduced us with their magic visions and products. After attending an incredible event where you could create your very own mechanical FLIPBOOK MOVIE during a highly entertaining evening while drinking beer and listening to live music, we made our decision to celebrate this wonderful DIY KIT at SUPERSENSE.

Let`s start with some quotes of Wendy and Marc:

Wendy and Marc

"Our foray into flipbook art started in 2009, when we traveled in Europe and the middle east; we fell in love with the mid-twentieth century mechanized signs that were still operating, especially the split-flap (or solari) departure/arrival boards in train stations, with their mesmerizing “click-clack-click-clack”.

"Here’s the real secret of our craft: magic. Our greatest satisfaction lies in watching wonder and joy overtake people when they crank the handle on a flipbook. Adults giggle like children, and kids scowl, openmouthed, with intense concentration as they try to figure out how it works. No matter how many times you create the illusion of motion, you want to do it again and again."

Kit & Cards


The first flipbook appeared in Birmingham, England in 1868 when the British lithograph printer John Barnes Linnett patented his new invention under the name kineograph, literally "a moving picture".

Ostrich
Waltz
Cat and Mouse

Almost thirty years later, Max Skladanowsky, the early German filmmaker and inventor, also prepared to unveil his own moving photographic images. He and his brother Emil had not yet developed their own film projector, and he exhibited his serial images as a flipbook in 1894. That same year, the American Herman Casler unveiled his new invention, the Mutoscope – a mechanized flipbook that, instead of binding the images as a flipbook, mounted them to a rotating cylinder.

It was Casler’s invention that truly captured the public’s imagination and his variation of the classic flipbook was a popular attraction well into the 20th century, often appearing in amusement parks and arcades.

Now it is definitely time for your first own FLIPBOOK!

How to build


A: THE FLIPBOOK KIT


The KIT comes in parts and can be assembled in a few minutes thanks to the detailed instructions in the included manual.
Wendy and Marc also made a great step by step instruction you can find HERE.

B: YOUR OWN FLIPBOOK ANIMATION


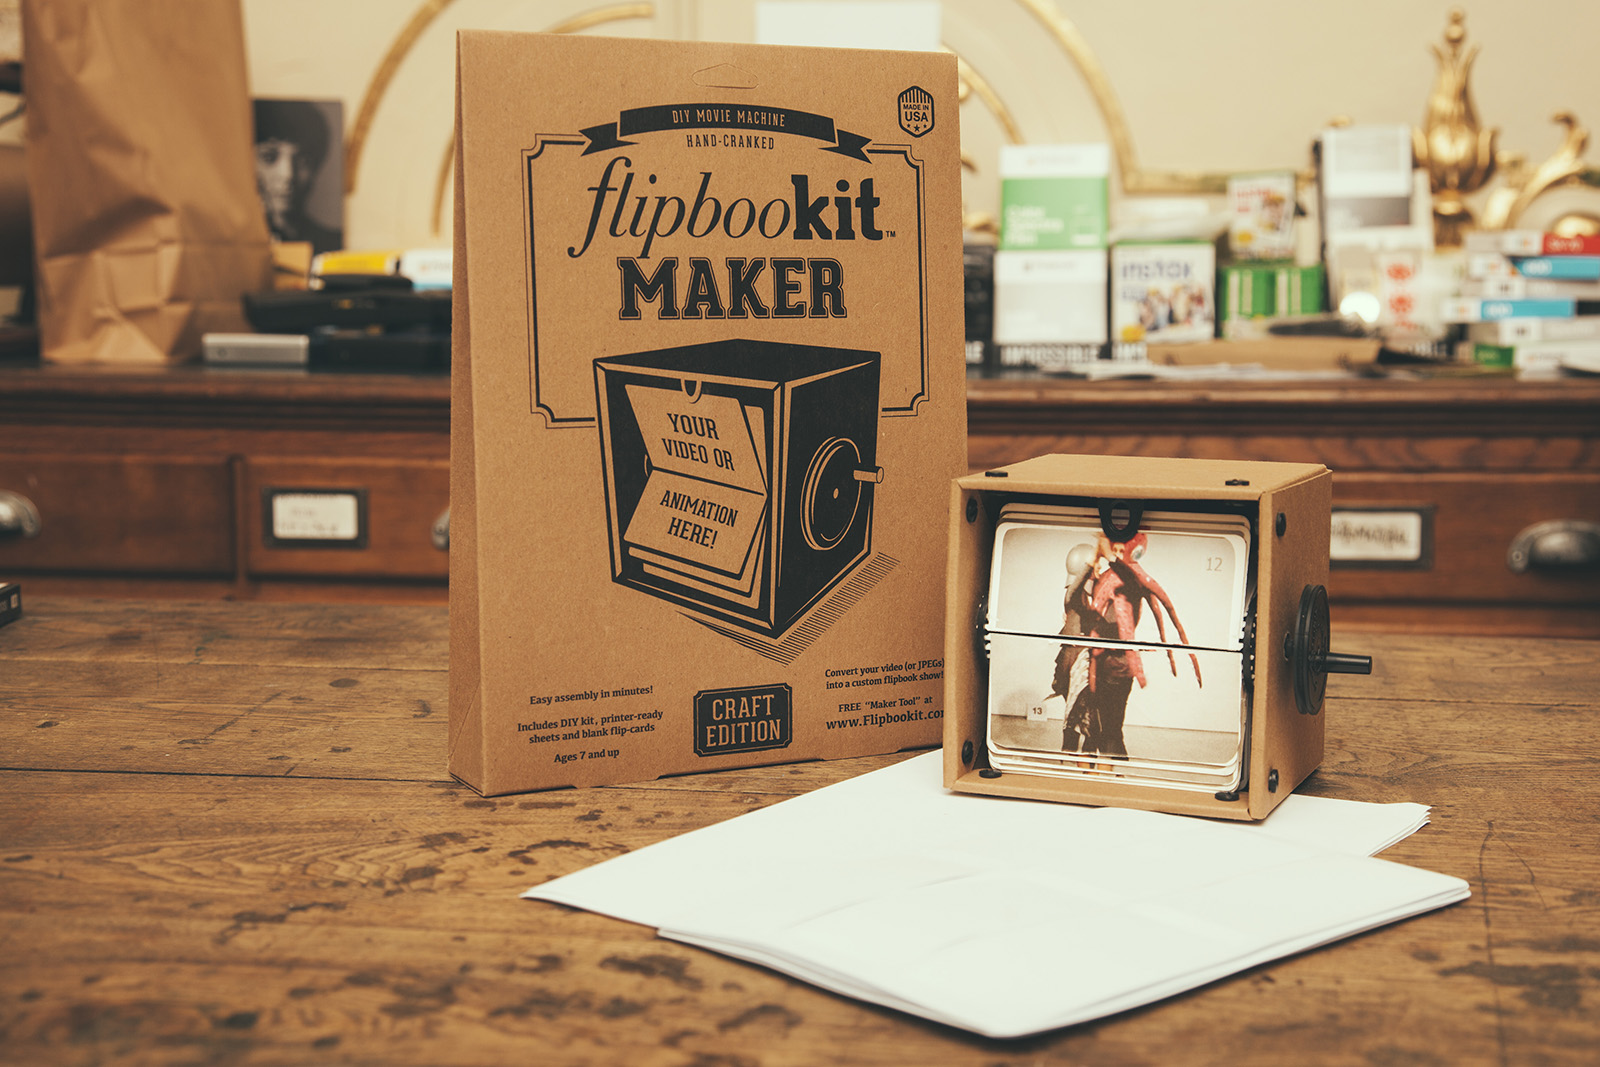
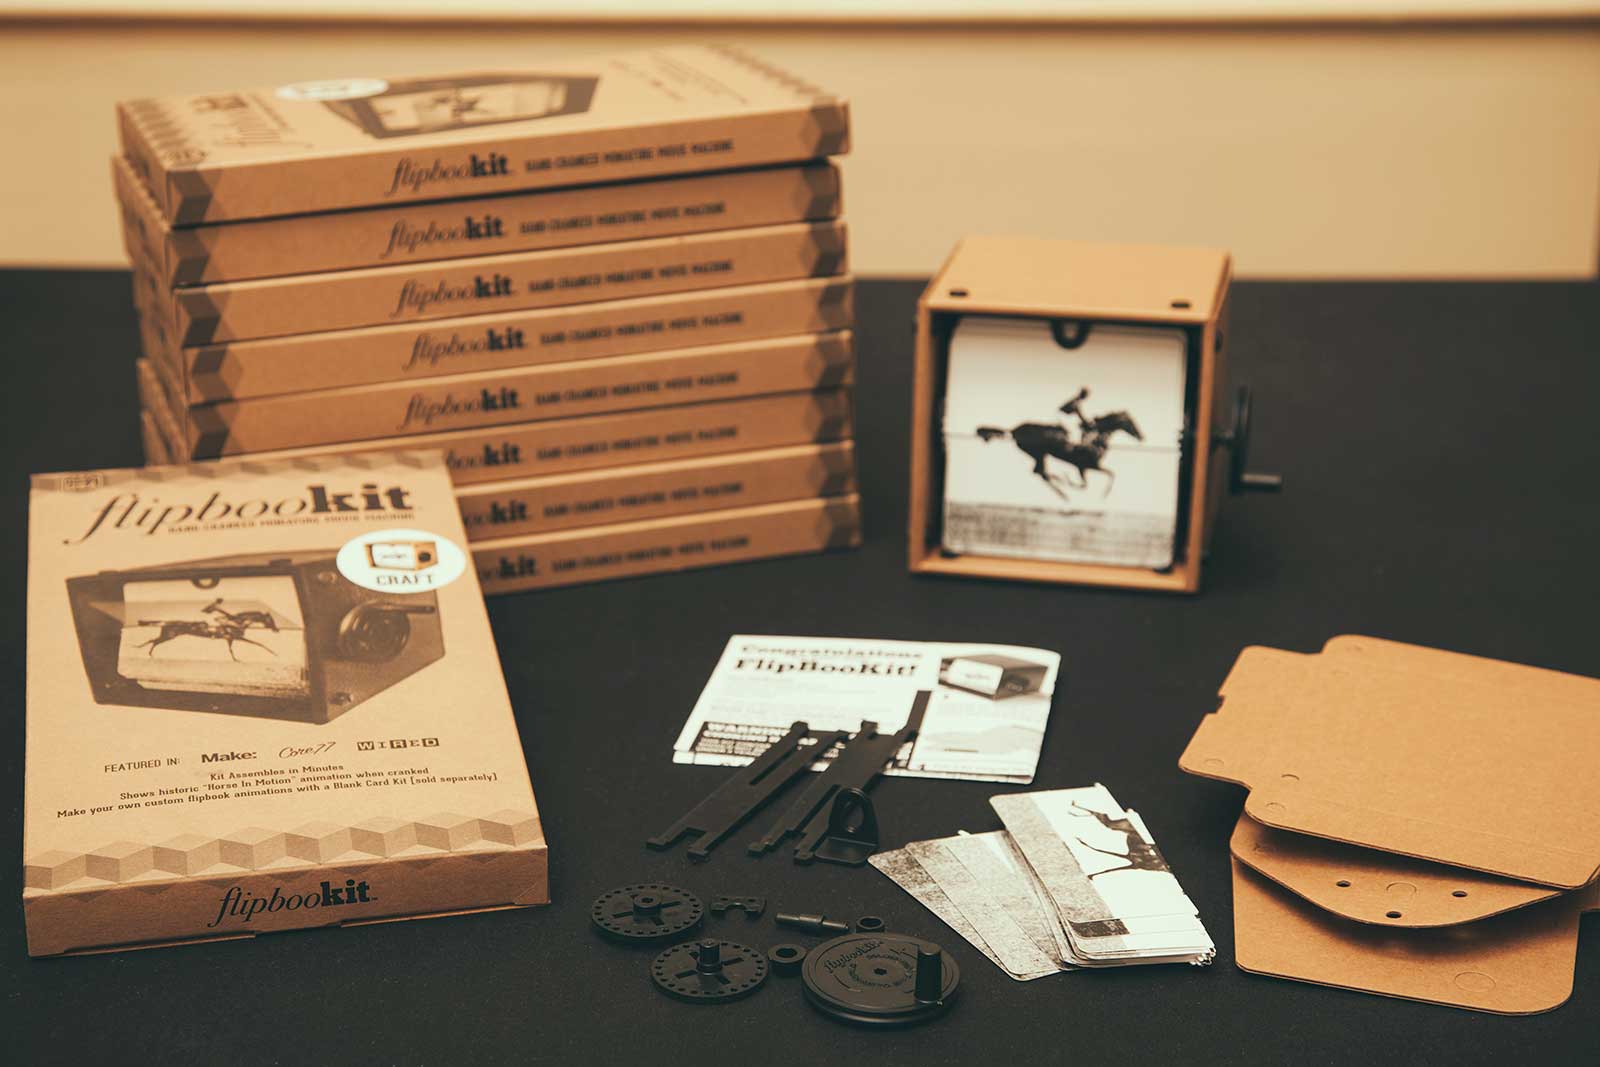
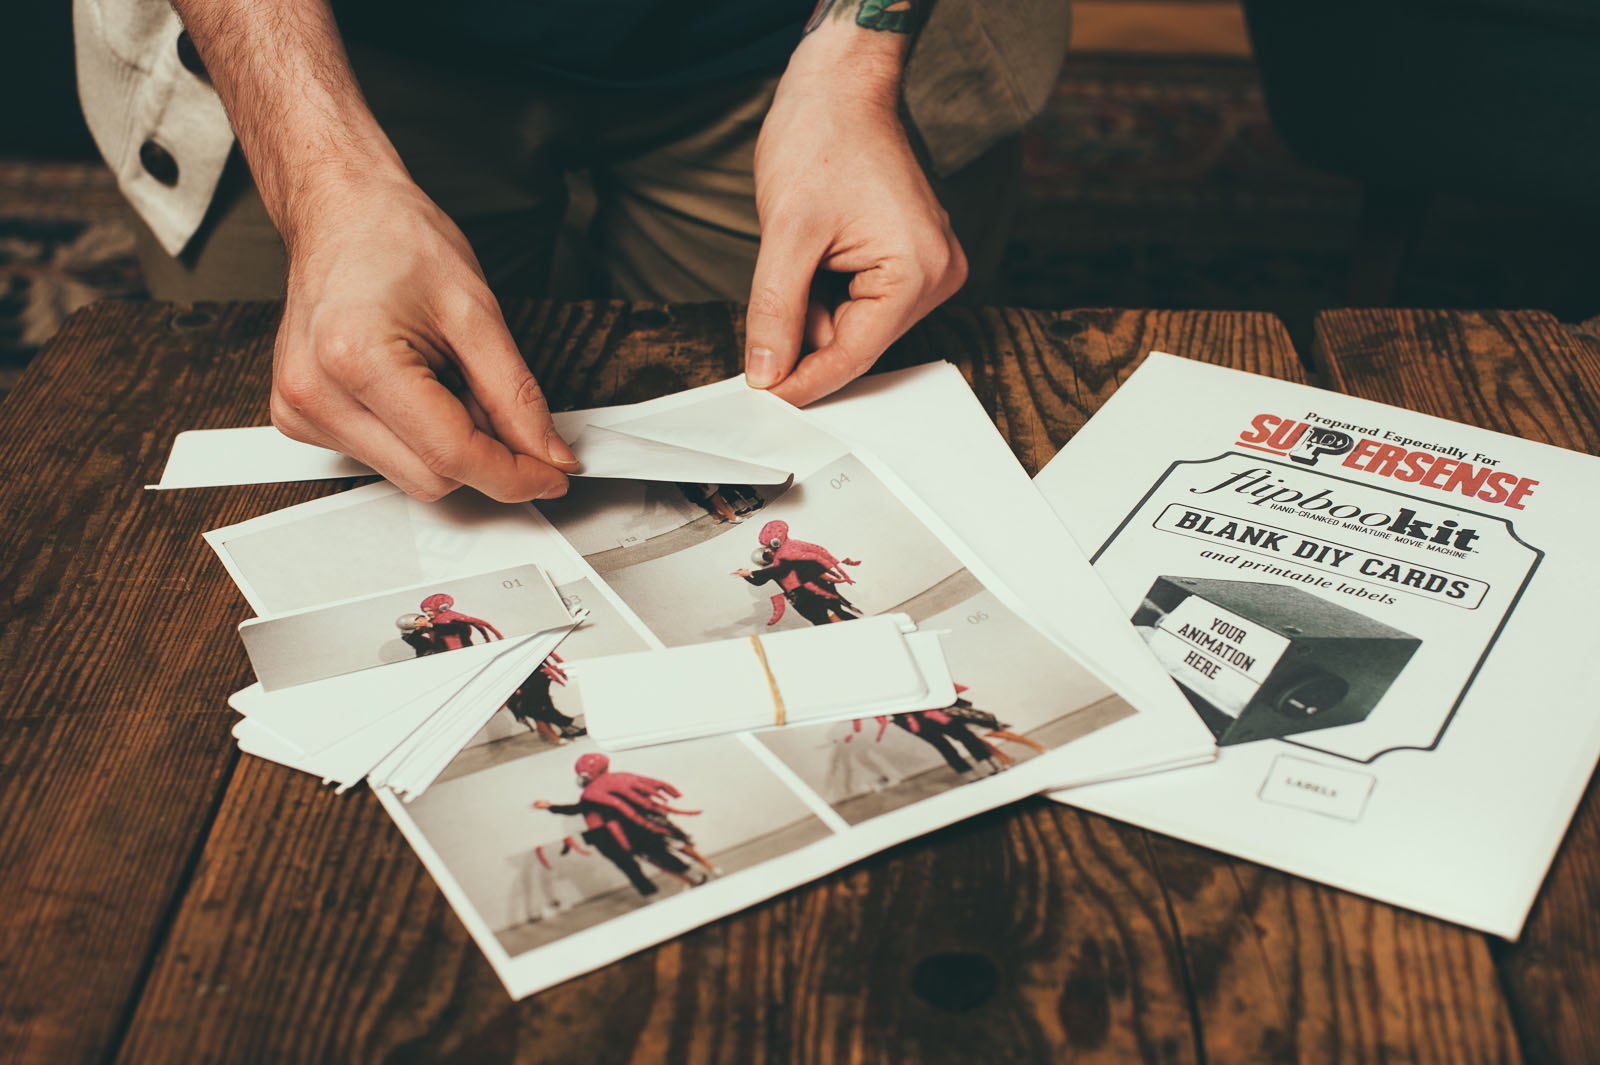
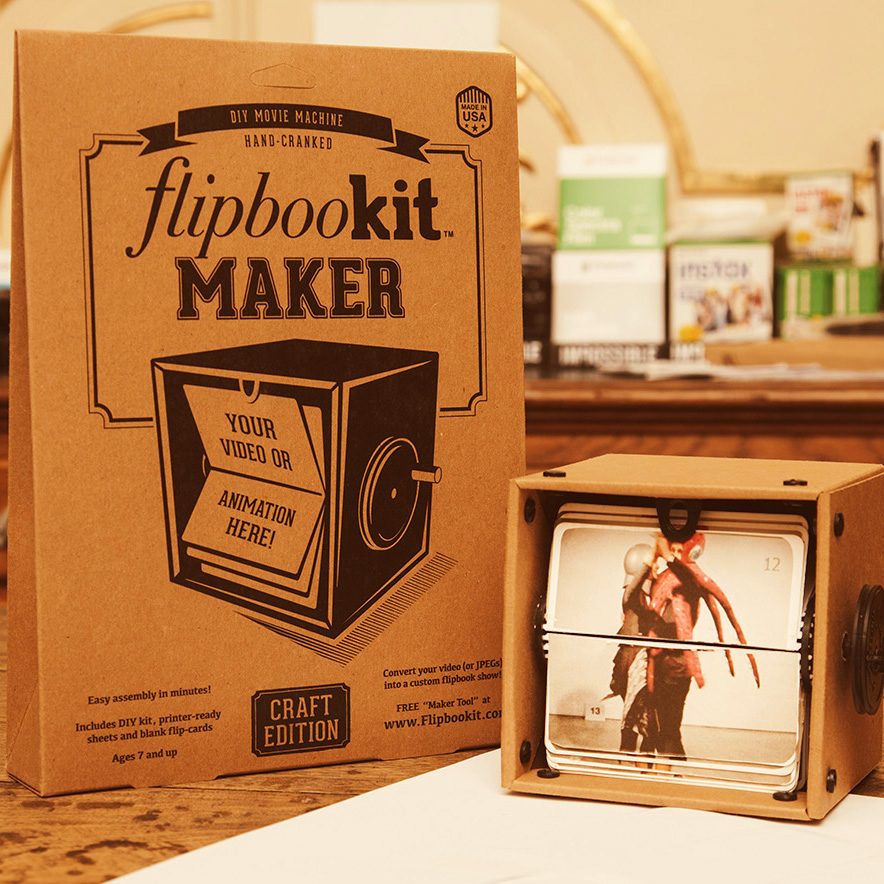
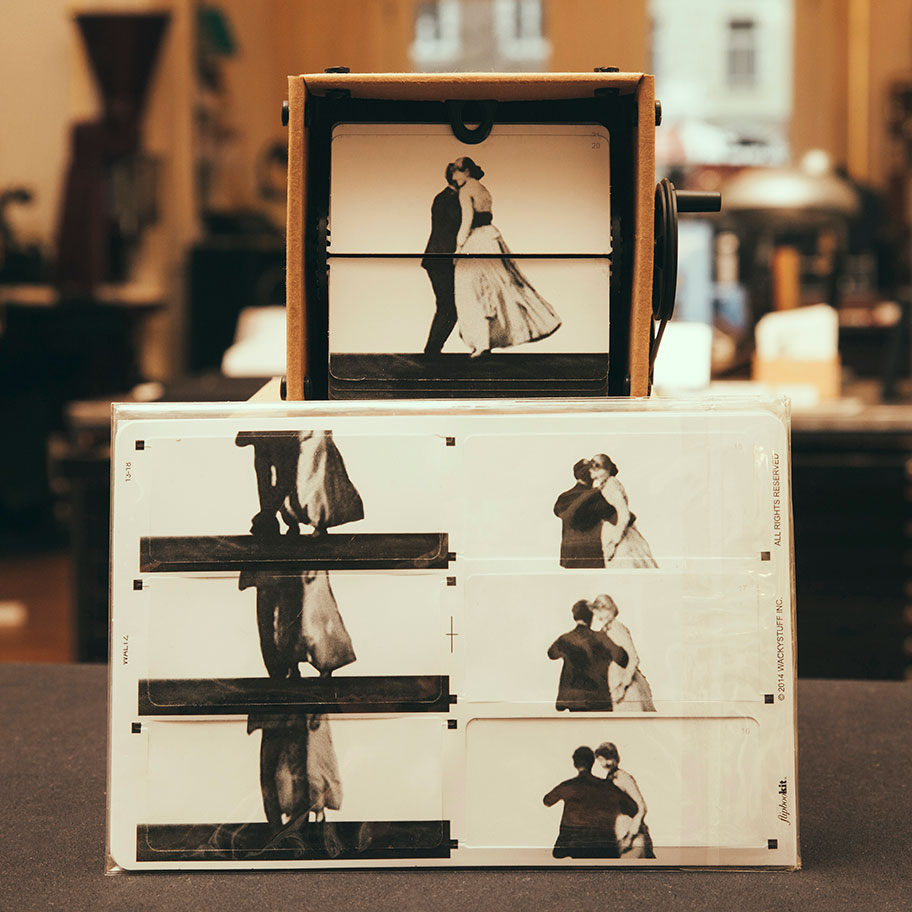
We like to think of FlipBooKit as a new spin on an old-fashioned display.
If you are planning to start with a video and convert it into an FlipBooKit animation, plan it carefully. You will be able take that cell-phone video of your daughter kicking her first goal at her soccer match and put it in a FlipBooKit – but it’s up to you to make it work.

STEP 1: Prepare your Video

Your video clip should be short in duration (3-7 seconds). A longer duration video will work, but there is a 10 Megabyte limit on the upload file size. Many smart phones include editing tools that enable you to “trim” your videos and save them as new files. You can also trim a video with any standard video editing tool on your computer or tablet.

STEP 2a: Upload Video Using the Online Maker Tool

The simplest and quickest way to create a custom FlipBooKit scene is with the video option of the “maker tool“.
Upload the video. You can drag the file right over the gray rectangular video tool upload area – or by using the upload dialogue by clicking on the gray box. From that point the tool will guide you.
After the video uploads, the server will process the video and you will soon see a low-rez preview of the animation.
You have several choices at this point.

  1. Perfection! If your preview looks great – generate your PDF now.
  2. Reprocess: Sometimes the server may pick 24 different frames. If your first preview seems a bit funny, try this once or twice.
  3. Download Frames: Some will want their 24 individual numbered-JPG frames back for more editing. If you are a photoshop pro or you know some image editing tool pretty well, you can try this. The image editing is up to you, but after you are done you can upload your edited frames back into the maker tool to generate your final printable template.

STEP 2b: Advanced Maker Tool – Uploading Numbered JPEG Frames

Just like it sounds. This tool will turn your series of numbered frames into a printable PDF label template. Use the “Upload 24 Frames” tool on the maker page. Just drag 24 correctly-named and sized JPEG images over the gray rectangular upload button and watch the uploader identify acceptable files, then count off the files that are successfully uploaded. You will see the frame counter tags change colors to indicate the activity status. If this upload process stalls, you may need to check your files for correct naming and sizing.

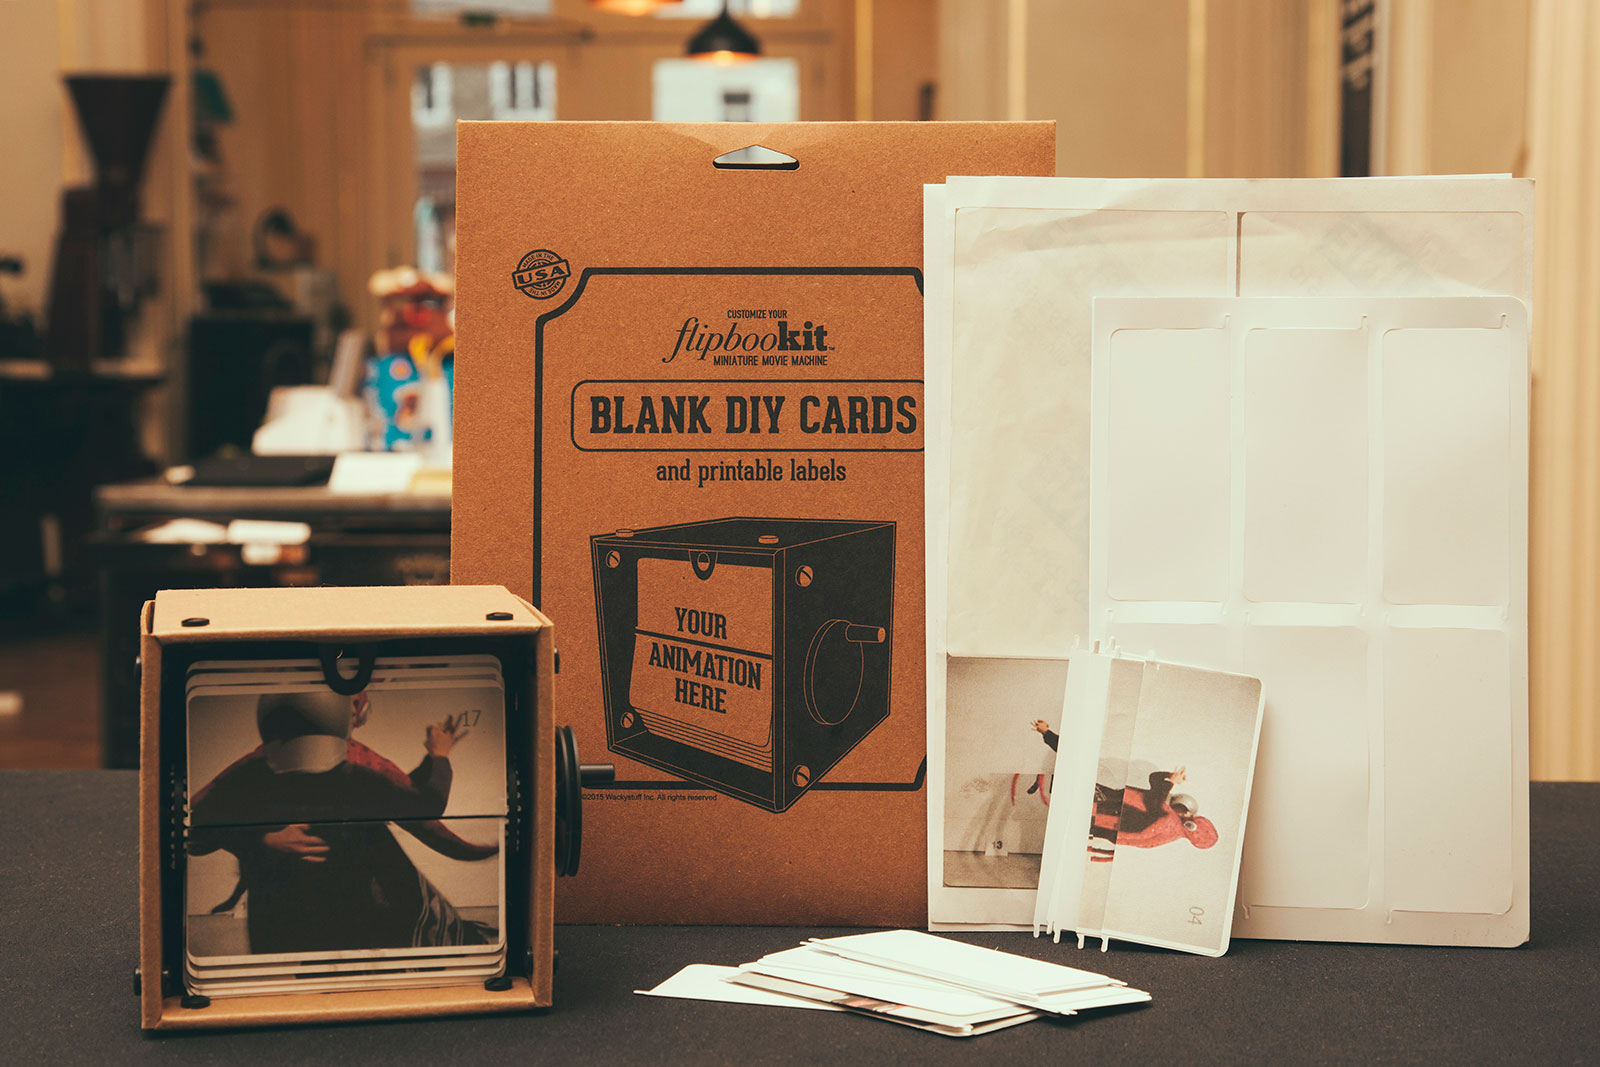
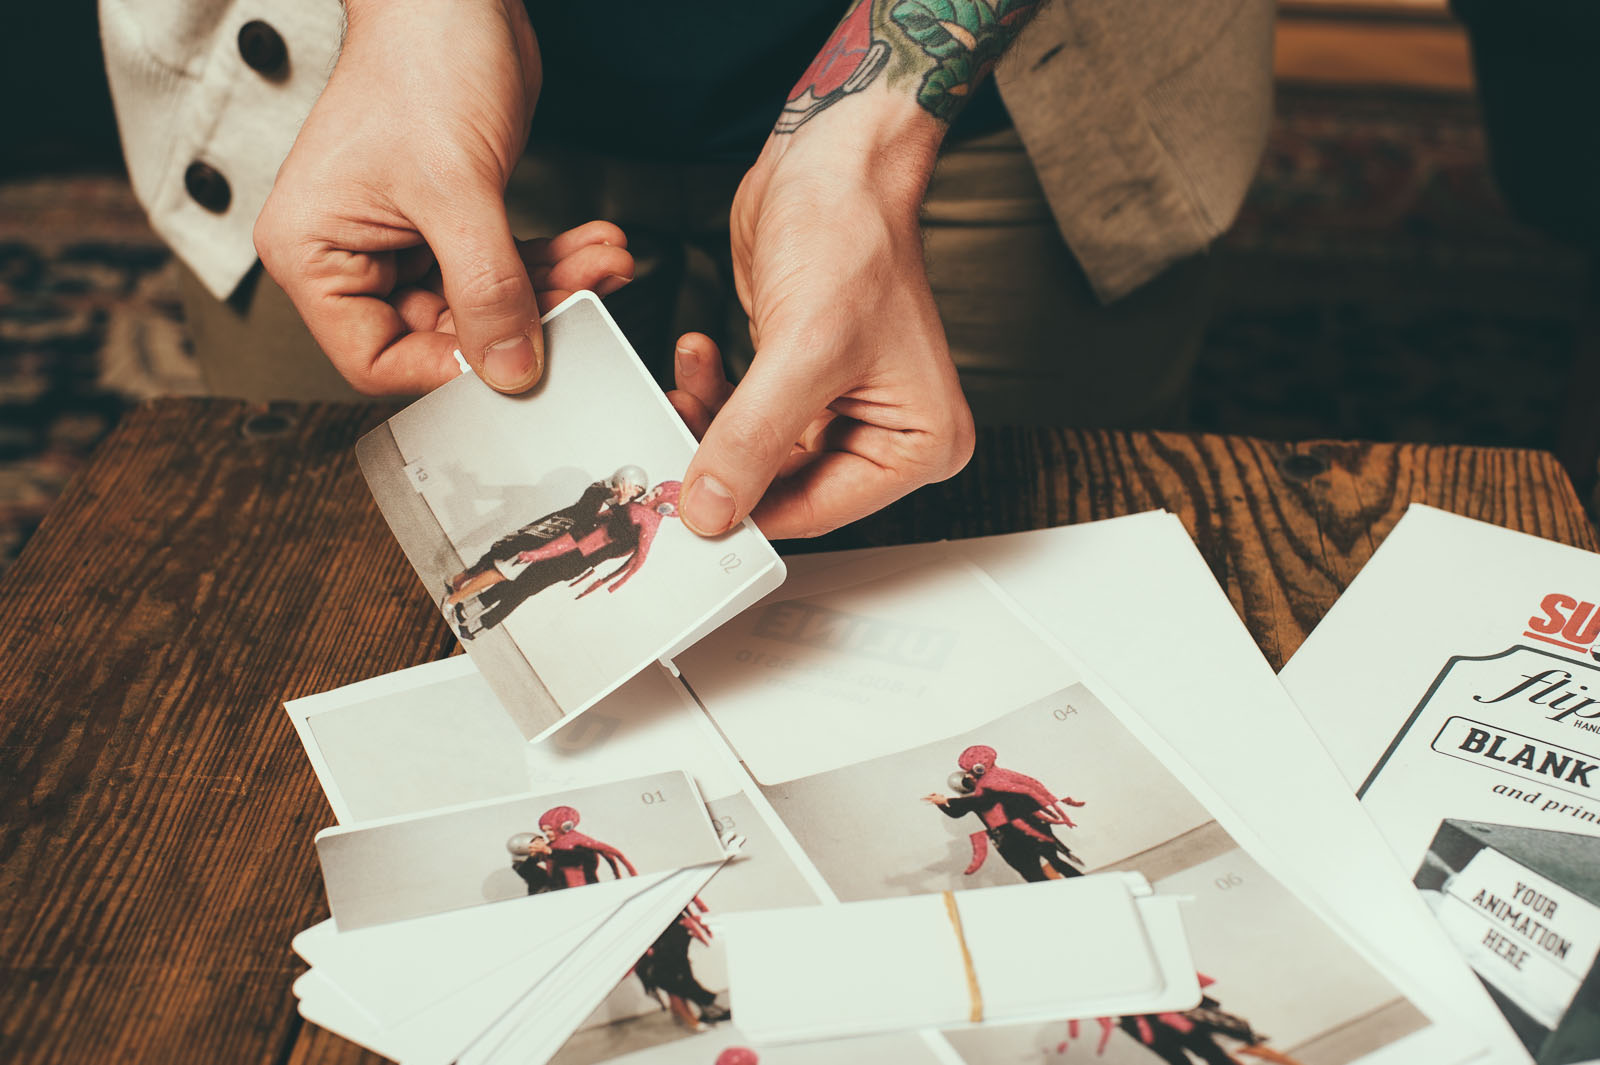
STEP 3: Printing Your Labels

Before you print your FlipBooKit labels, DO find the correct printer settings by running a couple test-prints (or your labels may be a mess and your sheets will be wasted). A special note to all our non-North American friends, these label sheets are LETTER-Sized. So please select this option in your print format drop down.

Shop


FLIPBOOK MAKER KIT

FLIPBOOK MAKER KIT

The new kit includes everything you need to turn any video or images into your own custom hand-craked movie machine!

35 € - OUT OF STOCK

DIY BLANK CARDS

DIY BLANK CARDS

If you need extra blank flip cards, get this package including blank cards and printable labels.

15 € - OUT OF STOCK


In addition the following printed flip-cards are available


FLIPBOOK COMBO

METROPOLIS

15 € - OUT OF STOCK

DIY FLIPBOOK KIT

LEAPFROG

15 € - OUT OF STOCK

DIY BLANK CARDS

WALTZ

15 € - OUT OF STOCK